You'll need shaft extenders matched to your club material, metal for steel, plastic for graphite, plus high-strength golf epoxy and 24 hours of patience. Remove your grips, sand the shaft's interior, and test-fit the extension before applying epoxy to both surfaces. Here's the catch most DIYers miss: stick to a 2-inch maximum extension, or you'll wreck your swing weight and balance. The full process from measurement to final grip installation takes precision at every step.
Before you grab any old hardware store supplies and start hacking away at your shafts, let's get one thing straight: the wrong materials won't just give you a sloppy result, they'll destroy your clubs.
You'll need shaft extenders matched exactly to your shaft material, metal extenders for steel, plastic or nylon for graphite. Don't mix these up. High-strength golf epoxy secures everything, but only after you've sanded surfaces properly for bonding. Keep in mind that extensions should be limited to two inches to maintain proper club performance and balance. Remember that graphite driver shafts are lighter than steel, which affects how much weight your extension adds to the overall club feel.
For cutting, use a rotary tool or specialized shaft cutter. A pipe cutter works, but precision matters here. Keep sandpaper handy for fine-tuning the extender fit within 0.020 inches. You'll also need grip tape, solvent, and potentially new grips since your extension shifts everything upward. Using a graphite golf shaft measuring gauge makes determining the correct extender size much simpler and more accurate.
How accurately do you actually know your current club length? Most golfers guess, and that's a problem. Leaning your driver against a wall with a tape measure gives you garbage data; it ignores lie angle entirely and produces inconsistent results.
Here's the correct method: set your club flat on the ground with the sole's center making contact, then measure along the shaft axis to the grip's end. The USGA requires a 60-degree plane orientation for official measurements. A 48-inch measuring stick is recommended when measuring longer clubs like drivers and 3-woods to ensure complete accuracy. For the most precise results, always measure from the heel of the club to the end of the grip. When measuring, ensure you stop at the edge of the grip cap rather than the very top of the grip for accurate results.
For determining your ideal length, you need your wrist-to-floor measurement. Stand straight, arms relaxed at your sides, and measure from your wrist crease to the floor. At 6'3" to 6'6", you're typically looking at adding one inch to standard specs. This measurement cuts through the guesswork completely.
Knowing your ideal club length means nothing if you botch the installation, and this is where most DIY attempts fall apart.
Start by removing the grip and tape from the butt end, then sand the shaft's interior to create a roughened surface. Clean everything with acetone or mineral spirits, and run a wire brush through to eliminate oxidation and debris. Let it dry completely. Working in a well-ventilated area during this process is essential for safety.
For the extension, lightly sand the outer surface. Steel shafts need either 0.580 or 0.60-inch diameter extensions; match your shaft specs exactly. Graphite extensions fit more loosely and may require filing for the proper diameter. Keep in mind that the recommended maximum extension is 2 inches, as extending beyond this can weaken the shaft structurally.
Test fit before touching epoxy. The extension should slide smoothly without forcing. If you're fighting it, you've got the wrong size or insufficient prep work. Once the extension is installed, you'll need to apply new grip tape and solvent, and having the proper tools available makes the regripping process significantly easier.

Every extension piece requires precise measurement before you touch a cutting tool, and this step separates clean installations from crooked disasters.
Stand in your natural golf posture and measure the exact length you need. Mark the extension with a permanent marker at your cut point; no guessing allowed.
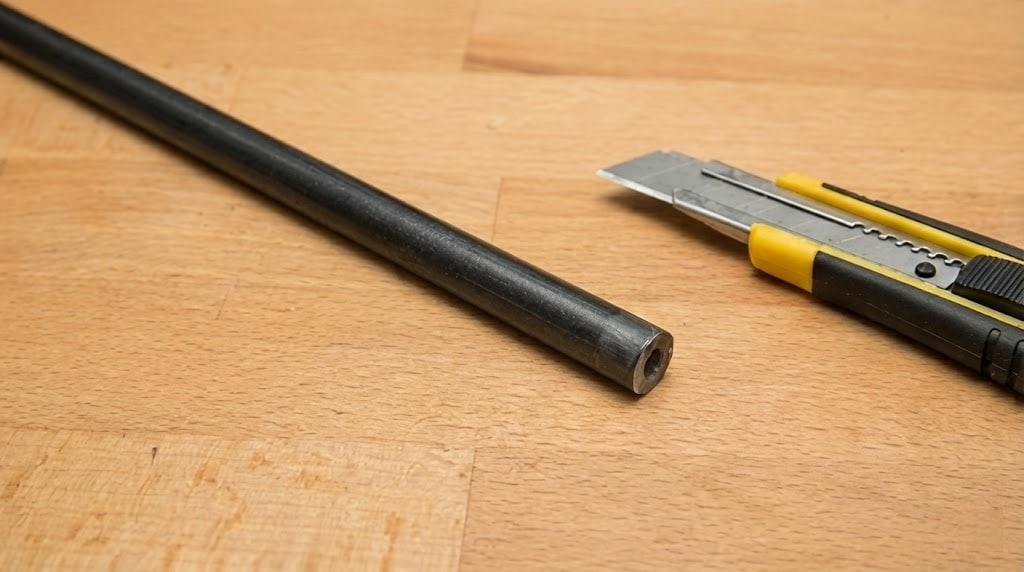
Here's where most DIYers mess up: they grab whatever cutting tool is nearby. Don't. For steel extensions, tubing cutters deliver the cleanest cuts with minimal edge distortion. Chop saws work too, but skip them entirely for graphite. Graphite demands a hacksaw; abrasive wheels shred the fibers and compromise structural integrity. A manual pipe cutter is the recommended tool for making clean, precise cuts on the shaft.
After cutting, test-fit the extension into your shaft before reaching for epoxy. Each shaft's interior diameter varies slightly, so check every club individually. The extension shouldn't protrude more than 1.5 inches from the shaft. When working with graphite, secure the shaft in a rubber shaft clamp to prevent damage during the cutting and fitting process. Once the extension is epoxied in place and you've re-gripped the club, wait at least 24 hours before using it to ensure the grips fully adhere.
Selecting the right epoxy determines whether your extension holds for years or rattles loose after a few range sessions.
Skip the 5-minute epoxy unless you're fixing a single club in a pinch. Golf-specific extension adhesive delivers superior results, its thicker viscosity fills the inevitable gaps between extension and shaft, and it cures less brittle than standard shafting epoxy. For multiple club projects, 24-hour epoxy allows extensive working time to complete the entire set without rushing.
Roll sandpaper into a tube and rough up the shaft's interior. Sand the extension piece lightly where it inserts. You're creating grip, not removing material. Using medium-grit sandpaper, around 120 grit works well to expose fresh surface area for optimal adhesion.
Apply a light coating to both surfaces, about an inch of coverage. Rotate and work the extension up and down during insertion to spread the epoxy completely. Excess epoxy causes swingweight issues and eventually breaks loose, creating that maddening rattle. Save your mixed epoxy nearby until it hardens completely. One tube of extension adhesive typically installs approximately 8-10 extensions, making it economical for full set projects.
Once your extension cures fully, typically 24 hours with golf-specific epoxy, you're ready to tackle the re-gripping process that'll determine whether your modification feels like a factory club or a garage experiment.
Start by cleaning the shaft with acetone to guarantee ideal grip adhesion. Professional-grade solvent removes any residue that'll cause slipping during your swing. Don't skip this step; it's the difference between confidence and doubt at the address. Apply double-sided grip tape evenly to the shaft before sliding on your new grip with solvent for a secure fit.
Your initial range session reveals everything. Watch your ball flight patterns for directional consistency and monitor your tempo. Distance maintenance confirms the extension hasn't compromised your launch conditions. If you're feeling cramped despite the added length, you've likely underestimated your needs by half an inch.
Multiple sessions provide the data you need for informed adjustments.

Lengthening your golf club adds roughly 3-5 swing weight points per half-inch, making the head feel heavier during your swing. This happens because you're shifting mass farther from the fulcrum point. Your ball flight changes, too; the shaft plays weaker with that increased advantage, potentially launching higher with more spin. You'll likely need to compensate with a lighter grip or shaft to maintain proper swing mechanics and consistent clubhead speed.
You can extend most clubs, but not without limits. Steel and graphite shafts max out at 2 inches before you're risking structural damage and performance issues. Push beyond that, and you're inviting shaft breakage and inconsistent shots. Putter shafts are the exception; they'll tolerate extensions beyond the standard limit. The real catch? Graphite requires plastic or nylon sleeves only; steel sleeves will compromise the shaft's integrity.
You can add up to 2 inches to most clubs before you hit the legal ceiling. The official limit stands at 48 inches for everything except putters, which have no maximum. Here's the catch: if you're playing in elite tournaments that adopt the Model Local Rule G-10, you're capped at 46 inches. For recreational play, you've got more breathing room, but I'd caution against exceeding 2 inches; swing weight and control suffer dramatically.
It depends on how you do it. Here's the truth most golfers miss: standard modifications like reshafting or regripping typically won't void your warranty if you use authorized parts and certified technicians. However, if you bend shafts beyond factory specs or swap components with unapproved parts, you're gambling with your coverage. Your best move? Check your specific warranty terms and use authorized service centers. Keep all documentation, you'll need it if something goes wrong.
You should inspect extended clubs for joint integrity every one to two months. Don't fall for the "set it and forget it" myth; extension joints take serious stress with every swing. If you're playing frequently or swinging aggressively, bump that to monthly. Watch for gaps, listen for clicking sounds, and tighten fasteners after each check. Skipping inspections risks performance issues and potential joint failure mid-round.
Lengthening your clubs isn't rocket science, but it demands precision. You've now got the knowledge to add those extra inches without dropping hundreds at a pro shop. The key is patience; rushing the epoxy cure or skimping on prep work will cost you later. Test your extended clubs on the range before committing to a round. Trust your swing, and those extra inches will translate to real distance gains.