You'll get the most accurate SkyTrak readings by positioning your hitting mat exactly 9 feet from the impact screen. This distance gives you the perfect balance between data precision and room practicality. Your ball needs to sit directly on that red laser dot, while the unit itself should be level with your hitting surface to prevent spin measurement errors. The key point is: even small positioning mistakes can throw off your driver distances by 7-9%, so getting this setup right matters more than you'd think for reliable practice sessions.
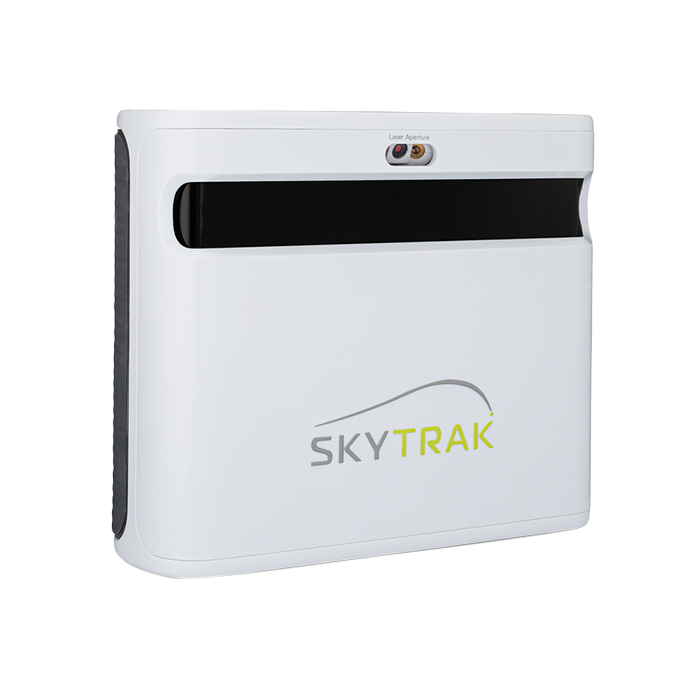
Experience pro-level precision with the SkyTrak+ Plus Golf Launch Monitor, delivering unmatched accuracy and real-time shot data.
When setting up your SkyTrak launch monitor, the distance between your impact zone and the screen plays a crucial role in getting accurate data from your swings. You'll want to position your hitting mat about 8-10 feet from the impact screen for best results. Here's why this matters: distances shorter than 8 feet can mess with your swing mechanics and throw off your data accuracy. Think of it like standing too close to a dartboard, you'll feel cramped and won't perform naturally.
The sweet spot sits around 9 feet, which perfectly balances room constraints with data quality. This distance gives SkyTrak's photometric sensors enough space to capture your ball's spin and speed accurately, while still allowing you a full driver swing without feeling restricted. Remember that proper calibration is essential for reliable distance and trajectory predictions, making your initial setup critical for long-term accuracy.

Now that you've got the distance sorted out, let's talk about the room itself—because even perfect SkyTrak placement won't help if you're swinging in a cramped closet! You'll need minimum dimensions of 15-18 feet in length, though 18-20 feet gives you that sweet spot for comfort. Width-wise, aim for at least 12 feet, but bump it up to 14-15 feet if you're accommodating both righties and lefties. The important aspect about ceiling height, 9 feet is your absolute minimum, but 10+ feet prevents those cringe-worthy club-meets-ceiling moments. Remember that taller players typically need at least 12 feet of ceiling clearance for unrestricted driver swings. A minimum depth of 8 feet is required for a comfortable swing that allows full backswing and follow-through without obstruction. Don't forget that 2-foot buffer behind your impact screen; it'll save your walls and extend your equipment's life considerably. Before finalizing your setup, take several practice swings in your designated space to confirm you have adequate room for your natural swing motion.
Perfect room dimensions mean nothing if your ball placement is off by even a few inches; the SkyTrak's red laser dot becomes your north star for consistent, accurate readings. Position your ball directly on that red dot, and you'll immediately notice better tracking accuracy. For driver shots, move the ball slightly forward in your stance near your front foot to enhance launch angles.
Here's the thing: different clubs need different positioning. Short chips work best with center alignment, while longer shots demand forward placement. Use a tape measure to verify your ball sits perpendicular to the screen's center line; this creates that essential right-angle alignment. If you're getting off-center readings, adjust the offset in SkyTrak's camera settings until everything lines up perfectly. Clean your sensors regularly to maintain the precision of ball detection and avoid tracking errors from dust buildup.
For putting sessions, ensure the ball logo faces forward towards the unit and experiment with placement closer to the laser dot to reduce missed readings on shorter strokes. Ensure the bottom of your SkyTrak unit sits even with the top of your hitting surface using the adjustable feet on the protective case for optimal ball tracking.

Getting your SkyTrak's height dialed in perfectly makes the difference between rock-solid data and frustrating inconsistencies that'll have you second-guessing every swing.
Your photometric camera needs an unobstructed view of the ball at impact height, think of it as the device's "sweet spot" for capturing accurate readings. Position the red dot laser right at your ball's midpoint, creating perfect vertical alignment with the lens plane. This setup guarantees your ball speed, launch angle, and spin rate measurements stay precise.
Here's the thing: even small height discrepancies throw off your data. If your hitting area's uneven, you can tilt the monitor up to 5 degrees to maintain that vital paraxial alignment. Keep everything level horizontally, too; your unit should sit parallel to the hitting surface, preventing those annoying side spin errors that skew your shot analysis. The system's dual Doppler radar works in tandem with the cameras to ensure club path and face angle measurements remain accurate within 1.5 degrees.
The SkyTrak's high-speed camera technology delivers superior accuracy compared to traditional Doppler radar systems, making proper positioning even more critical for maximizing data quality. The rechargeable battery provides approximately 4 hours of continuous use, giving you plenty of time to dial in your setup without worrying about power interruptions.
Once you've nailed your SkyTrak's height and alignment, fine-tuning your ball positioning becomes the secret sauce for rock-solid data every single time. The fact is that the red laser dot isn't just for show. Position your ball within 1-2 inches of it, but here's where it gets interesting: drivers and woods actually perform better when you place the ball 1-2 inches behind the dot, while wedges and irons prefer being 1-2 inches in front.
Don't forget about your golf balls either! Clean, white balls with logos facing the SkyTrak give you way better spin measurements. Premium balls with specialized markings like Titleist RPT models can improve your spin rate precision by up to 30% compared to standard range balls. And that hitting mat? It's not optional, bare grass creates divots and dirt that'll mess with your consistency faster than you can say "mulligan." For outdoor sessions, always avoid direct sunlight hitting the SkyTrak's optic lens, as this can cause inconsistent readings even with perfect ball positioning. When your battery shows three red LED lights, stop your session immediately and charge the unit to prevent any data loss or performance issues.
Your ball positioning might be dialed in perfectly, but here's where things get interesting: the distance between your SkyTrak and the screen can dramatically affect the accuracy of your shot data. When you're positioned incorrectly, your carry distances with irons stay pretty reliable within +/- 5 yards, but driver shots? They'll read 7-9% shorter than reality. Your ball speed measurements remain solid with less than 5% error, which is great news. However, launch angles get tricky; they'll read 6-12% lower than premium monitors, and this gap widens with longer clubs. Spin rates also take a hit, recording slightly lower than expensive alternatives like the GC3. You'll notice these discrepancies worsen with faster swing speeds. For recreational golfers seeking basic swing metrics without investing thousands in professional-grade equipment, understanding these accuracy variations helps set realistic expectations for training sessions. Independent testing shows that SkyTrak maintains reliable accuracy within a 10-yard range for carry distances when compared to other launch monitor technologies. The photometric technology ensures consistent data capture across multiple shot parameters.
Experience pro-level precision with the SkyTrak+ Plus Golf Launch Monitor, delivering unmatched accuracy and real-time shot data.
Yes, you can use SkyTrak outdoors! It works great on hitting mats but doesn't officially support real grass. Sunlight does affect accuracy somewhat—it creates glare that makes the red laser dot harder to see, and harsh lighting can interfere with ball tracking. You'll get best results using a mat, avoiding peak sun hours, and staying within the expanded hitting area for reliable shot detection.
With ceilings under 10 feet, you'll need to modify your swing to avoid hitting the ceiling. At 8-9 feet, you'll likely have to shorten your backswing or avoid using drivers and longer clubs. This can mess with your natural swing mechanics and hurt accuracy since you'll be unconsciously holding back. You can work around it by using floor-mounted equipment, shorter clubs, or low-profile mats that don't add much height.
You don't need special golf balls—any standard plain white ball works great with SkyTrak! The point is: avoid heavily patterned balls like Callaway Truvis since they confuse the camera tracking. Premium balls like Titleist Pro V1 give slightly better accuracy, but regular balls still provide solid readings. Skip practice balls though—they're quieter but mess with your distance and spin data.
You don't need to recalibrate on a fixed schedule—only when you notice issues. Recalibrate whenever you move your SkyTrak's position, change your hitting mat, or notice distance readings seem off. Environmental changes like different lighting also trigger the need. The point is: if your shots are tracking consistently and distances match expectations, you're good to go!
Yes, multiple players can absolutely use the same SkyTrak setup without readjusting distances! Once you've established the ideal distance from your screen and leveled the device properly, that setup works for everyone. The key is making sure each player hits from the same ball placement spot. Your SkyTrak tracks ball flight data, not player-specific angles, so consistent ball positioning maintains accuracy regardless of different swing styles or player heights.
You've got all the pieces now to nail your SkyTrak setup! Remember, that 8-foot distance isn't just a suggestion—it's your accuracy sweet spot. Double-check your ball positioning, keep everything level, and don't rush the alignment process. Small adjustments make huge differences in your data quality. Take time to test different angles if something feels off. Your simulator's only as good as your setup, so get it right!