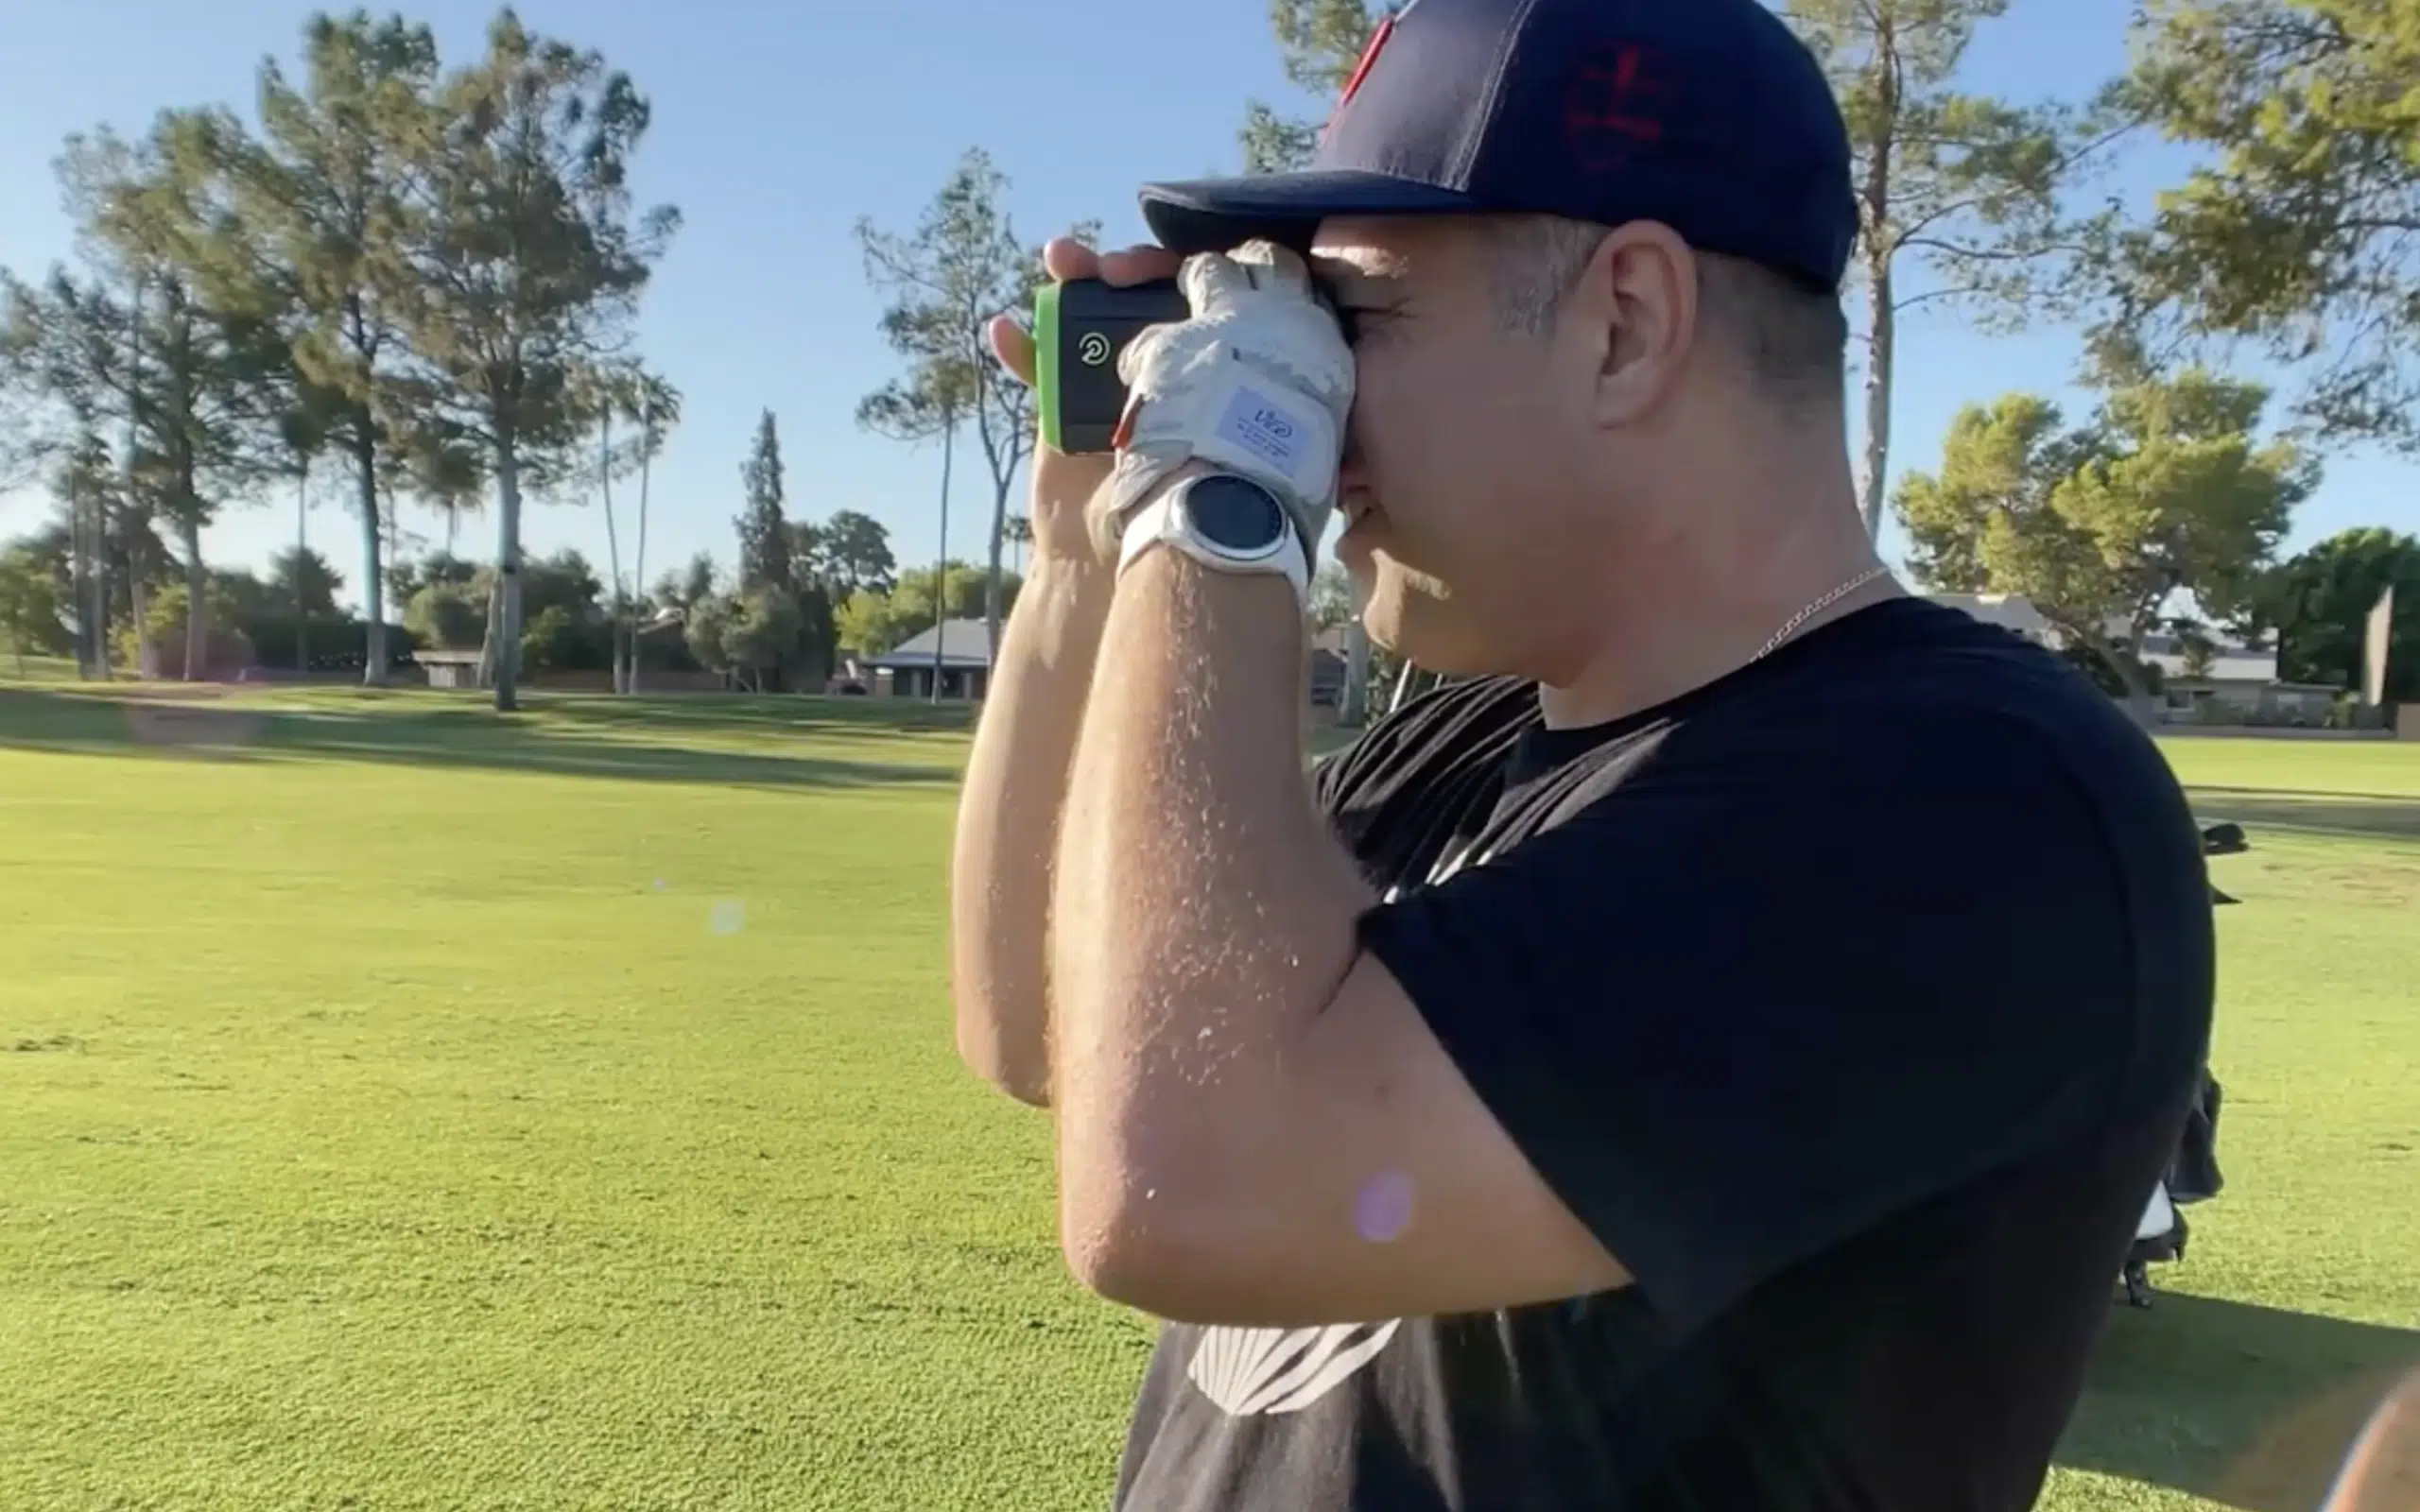
To use a golf rangefinder, initially power it on and adjust the eyepiece for clear vision. Aim at your target—preferably the flagstick since it's reflective—while bracing your elbows against your chest for stability. Press the button and wait 2-3 seconds for the device to lock on, which you'll feel through vibration or hear via a beep. The display shows distance in yards, helping you select the perfect club for your shot ahead.
When you're standing on the tee box trying to figure out if you need your 7-iron or pitching wedge, a golf rangefinder becomes your best friend on the course. You've got three main types to choose from, and each works differently.
Laser rangefinders shoot a beam at your target and calculate distance based on the reflection—they're crazy accurate, usually within one yard. However, you'll need steady hands and a clear view of the flagstick. These devices provide exact yardage measurements in less than a second to help you confidently select the right club for any shot.
GPS rangefinders use satellites and preloaded course maps to tell you distances to greens and hazards. They're super user-friendly since you don't need to aim at anything specific. Most models offer a standard range of 400-600 yards for measuring distances across the course.
Hybrid models combine both technologies, giving you laser precision plus GPS course data. They're pricier but offer the best of both worlds!
Now that you know which type of rangefinder suits your game, it's time to get your device up and running for that initial round. To begin, remove those pesky battery protective tabs—they're blocking power activation. Pop in fresh alkaline batteries or make certain your rechargeable ones are fully charged. You don't want mid-round shutdowns ruining your flow!
Press the power button through the eyepiece to activate the laser and display. Some models need a press-and-hold or double press, so check your manual. The important part is: most devices auto power-off after 8-10 seconds to save battery life.
Rotate the eyepiece diopter dial until everything looks sharp. Toggle between yards or meters using the mode button, and test your laser on a nearby target to confirm everything's working perfectly. When testing, aim the rangefinder steadily at your target and press the power button to lock onto it and obtain your distance reading. For enhanced functionality, activate slope mode by holding the mode button for 3 seconds to display straight-line distance measurements. Spending time familiarizing yourself with these features and settings will prevent confusion during actual play.
Accuracy depends entirely on how well you aim your rangefinder, and perfecting this skill separates confident golfers from those constantly second-guessing their yardages. Start by targeting larger, more distinguishable objects like flags or hazard stakes – they're easier for your laser to lock onto than tiny pin bases. You'll want to aim at reflective materials whenever possible since they bounce the laser signal back more effectively. High-quality laser rangefinders typically deliver precision within one yard of actual distances, making proper aiming techniques essential for maximizing this inherent accuracy.
Here's the thing: stability matters more than you think. Rest your elbow against your chest and use both hands to grip the device. This simple technique eliminates most hand shake, especially on longer shots. When environmental supports like cart frames are available, don't hesitate to use them! Close your non-viewing eye to sharpen focus and align that reticle precisely on your target. Listen for the vibration confirmation when your rangefinder locks onto the flag to ensure you've captured an accurate reading.
Remember that elevation changes can significantly affect your readings, so factor in uphill and downhill shots when interpreting your measurements. Always consider the terrain conditions and how they might impact the accuracy of your distance readings before making your club selection.

Three critical factors determine whether you'll nail that perfect yardage or find yourself scratching your head over inconsistent readings. Initially, you need rock-solid stability – hold that rangefinder steady like your scorecard depends on it, because it does! Even minor hand tremors can throw off your laser's accuracy by several yards.
Second, give your device time to work its magic. Don't rush the measurement by releasing the button too quickly. Most rangefinders need 2-3 seconds to lock onto targets properly. The device will display the distance measurement directly through the viewfinder for immediate feedback. Advanced models with flag-locking features can help ensure you're targeting the pin rather than background objects. Weather conditions like fog or heavy rain can significantly impact your rangefinder's performance and accuracy. Ultimately, target selection makes all the difference. Aim for the flagstick itself, not the general pin area. The laser reflects best off flat, shiny surfaces, so that metal pin gives you the most reliable reading compared to trees or rough terrain behind the green.
Understanding your rangefinder's display becomes second nature once you know what to look for. Most units show distance in yards or meters, and you can usually switch between them in settings. When slope mode's activated, you'll see two numbers: the actual distance and the adjusted yardage that accounts for elevation changes. Uphill shots show longer effective distances, while downhill reads shorter. Remember that slope functionality is prohibited in tournament play under USGA and R&A rules, so ensure this feature is disabled during competitive rounds.
Here's the thing—pin-seeking technology often vibrates or beeps when it locks onto the flag, so you'll know you've got an accurate reading. Take multiple measurements to the same target for confidence; consistent readings within one yard mean you're golden! Cross-reference with course markers occasionally, and keep in mind that weather conditions like fog can affect accuracy. Quality rangefinders deliver consistent accuracy regardless of rain, wind, or temperature changes throughout your round.
The rangefinder's built-in sensors automatically detect the angle of incline to provide the most precise distance calculations for your shot planning.

Once you've perfected reading your rangefinder, it's time to turn that distance data into lower scores through smart course management. Your rangefinder becomes your strategic partner, helping you pinpoint exact distances to hazards like water and bunkers for better risk assessment. The important point is—knowing you need 180 yards to carry that pond changes everything about your club selection!
Use your device to measure distances to the green's front, center, and back. This lets you plan approach shots precisely instead of guessing. Factor in elevation changes too—add a club for uphill shots, subtract one going downhill. Your rangefinder eliminates guesswork, building confidence in every swing. You'll identify safe landing zones and bailout areas, reducing those costly penalty strokes that wreck scorecards. Understanding your driving distance helps you determine which tees to play and how aggressively to attack each hole.
While rangefinders provide pinpoint accuracy through laser technology, experienced golfers can utilize these exact yardages most effectively to make precise club selections and execute strategic shots. Additionally, the ability to quickly measure distances allows golfers to assess their shots more confidently, potentially improving their overall performance on the course. However, a common question among players is, "can rangefinders be used in tournaments?" This inquiry highlights the balance between technological assistance and the rules of the game, as many tournaments have specific regulations regarding their use.
Smart course management starts with your rangefinder, but getting the best performance means knowing which features to activate and how to fine-tune your device's settings. Initially, understand your magnification—most rangefinders offer 5x to 7x magnification, which balances target clarity with steady viewing. Higher magnification helps you spot distant flagsticks but can make the device shakier in your hands.
Here's the thing about slope mode: it's a transformative feature for hilly courses! This feature calculates compensated yardage for elevation changes, potentially altering your club selection by several yards. However, remember to toggle it off during tournaments since slope mode isn't tournament-legal.
Activate scan mode when you're sizing up multiple targets quickly. The pulse vibration feature confirms you've locked onto the flagstick, eliminating guesswork completely. Look for models with quick lock-on capabilities, as cheap rangefinders often struggle with slow response times that can disrupt your pre-shot routine.

While features and settings lay the foundation, achieving consistent accuracy with your rangefinder comes down to perfecting your technique and developing solid habits on the course. You'll want to aim at larger, reflective targets like the flag instead of the pin's base—this guarantees better laser reflection and more reliable readings. For longer shots, the flag's reflective material really helps with target lock.
Here's the thing: steady hands make all the difference. Brace your rangefinder against your body or the golf cart to reduce shake that causes measurement errors. Practice focusing on your exact target spot without distractions from wind or moving players. Don't forget that elevation changes affect your aiming geometry, so use slope compensation features when available for the most accurate distances. Advanced rangefinders now feature image stabilization technology that eliminates hand shake and wind interference, making it easier to maintain crystal-clear targeting even in challenging conditions.
Rangefinder rules vary dramatically across professional golf. Most PGA Tour events ban them to preserve traditional skill-based play, while the LPGA Tour has allowed them since 2020. The PGA of America started permitting rangefinders in major championships in 2021, but the Championship and U.S. Open still prohibit them. You'll need to check specific tournament rules before competing since violations can lead to disqualification.
Rain and fog seriously mess with your rangefinder's accuracy by scattering and absorbing the laser beam. You'll notice slower readings and reduced range—sometimes dropping from 1000 yards down to just 100 yards in thick fog! Water droplets deflect the laser signal, making it harder for your device to get a solid reading back. Premium rangefinders handle light conditions better, but heavy weather still causes problems.
You'll typically get 10-30 hours of continuous use from your rangefinder's CR2 battery, which translates to 3,000-10,000 laser shots depending on your model. For most golfers, that means replacing batteries once per season or after multiple rounds. Keep a spare CR2 battery handy since they're only about $3 each. If you've got a rechargeable model, you'll need to charge it every 200-250 shots.
Most golf rangefinders can't accurately measure moving objects like golf balls in flight. Standard models are designed for static targets like flags, not tracking speed. However, some specialized rangefinders feature "Speed Mode" that can measure ball velocity in mph. You'll need steady hands and proper positioning directly behind the ball's path. The accuracy won't match static measurements, but it's useful for analyzing your swing performance.
Yes, you should calibrate your rangefinder periodically! Start each golf season with a fresh calibration, especially if you've noticed inconsistent readings. Heavy users need more frequent checks since usage intensity affects accuracy. Test it against known distances on flat ground—if measurements consistently differ from actual yardages, it's time to recalibrate. Physical drops or extreme weather exposure can also throw off your device's precision.
You've now got all the tools to use your rangefinder like a pro! Remember, practice makes perfect, so don't get discouraged if your initial few readings feel clunky. Start with obvious targets like flagsticks and large bunkers to build confidence. Once you're comfortable with the basics, you'll find yourself making smarter club selections and shaving strokes off your scorecard in no time.