You'll need just warm soapy water, an old toothbrush, and a microfiber cloth to get your clubs sparkling clean in 15 minutes. Start by tapping off loose dirt, then soak metal clubheads (not woods!) in warm water with a few drops of dish soap for five minutes. Scrub the grooves with your toothbrush using gentle pressure, wipe down shafts and grips with a damp cloth, then dry everything thoroughly to prevent rust. Perfect these basics and you'll uncover advanced techniques that keep your clubs performing like new.
Before you plunge into cleaning your golf clubs, you'll need to gather the right supplies—and trust me, having everything ready beforehand makes the whole process way smoother! Start with a sturdy bucket filled with warm water and a few drops of mild dish soap. You'll also want a soft-bristled brush (an old toothbrush works perfectly), plus a dedicated groove cleaner for those clubface ridges that affect your ball control. Grab some microfiber towels for drying—they're super absorbent and won't scratch your clubs. For grip cleaning, stick with nylon-bristled brushes and avoid harsh chemicals that'll damage the rubber. Consider investing in a retractable cleaning tool with nylon and brass bristles for more thorough maintenance. Regular cleaning helps maintain club condition and ensures your equipment performs at its best throughout the season. Make sure you have vinegar or baking soda on hand for removing any rust that may have developed on your clubs. The important point is: having separate containers for washing and rinsing prevents your cleaning solution from getting muddy, making everything more effective.
Now that you've got your cleaning arsenal ready, it's time to tackle the initial step: getting rid of all that loose stuff clinging to your clubs. Start by grabbing your dry microfiber cloth and wiping down the clubheads, shafts, and grips. This removes surface dirt without scratching your precious clubs.
Next, give each club a gentle tap on a hard surface – this dislodges stubborn sand and dirt stuck in those essential grooves. The key point is: those grooves affect your ball contact, so they need attention! Use a soft-bristled brush or old toothbrush to gently loosen any remaining dry debris. Skip the stiff brushes at this stage – they'll damage your club's finish. If you've got compressed air handy, it's perfect for blowing out hard-to-reach spots.
During this initial cleaning, take time to inspect for damage such as dents, scratches, or rust that might need special attention later. Pay particular attention to any rust spots, as rust compromises spin and control during your shots. Regular cleaning and proper storage not only keeps your clubs looking great but also helps extend their lifespan significantly.
Getting your soaking solution just right makes all the difference between clubs that sparkle and ones that still look neglected. You'll want to start with warm water—not hot, since that can mess with your club's adhesives. Fill your bucket enough to cover the club heads completely, but the key point is: don't let water rise above the ferrule where the shaft meets the head.
For your go-to solution, add just a few drops of mild dish soap per bucket. That's it! More soap won't clean better, it'll just leave residue. Need to tackle rust? Try equal parts vinegar and lemon juice, or grab some Coca-Cola—its phosphoric acid works surprisingly well. For stubborn grime, create a paste with baking soda and water, which is safe for most club materials. Commercial cleaners work in about 10 seconds versus traditional 5-minute soaks. While cleaning, you might notice worn grips that could benefit from grip solvent application during a future regripping project.
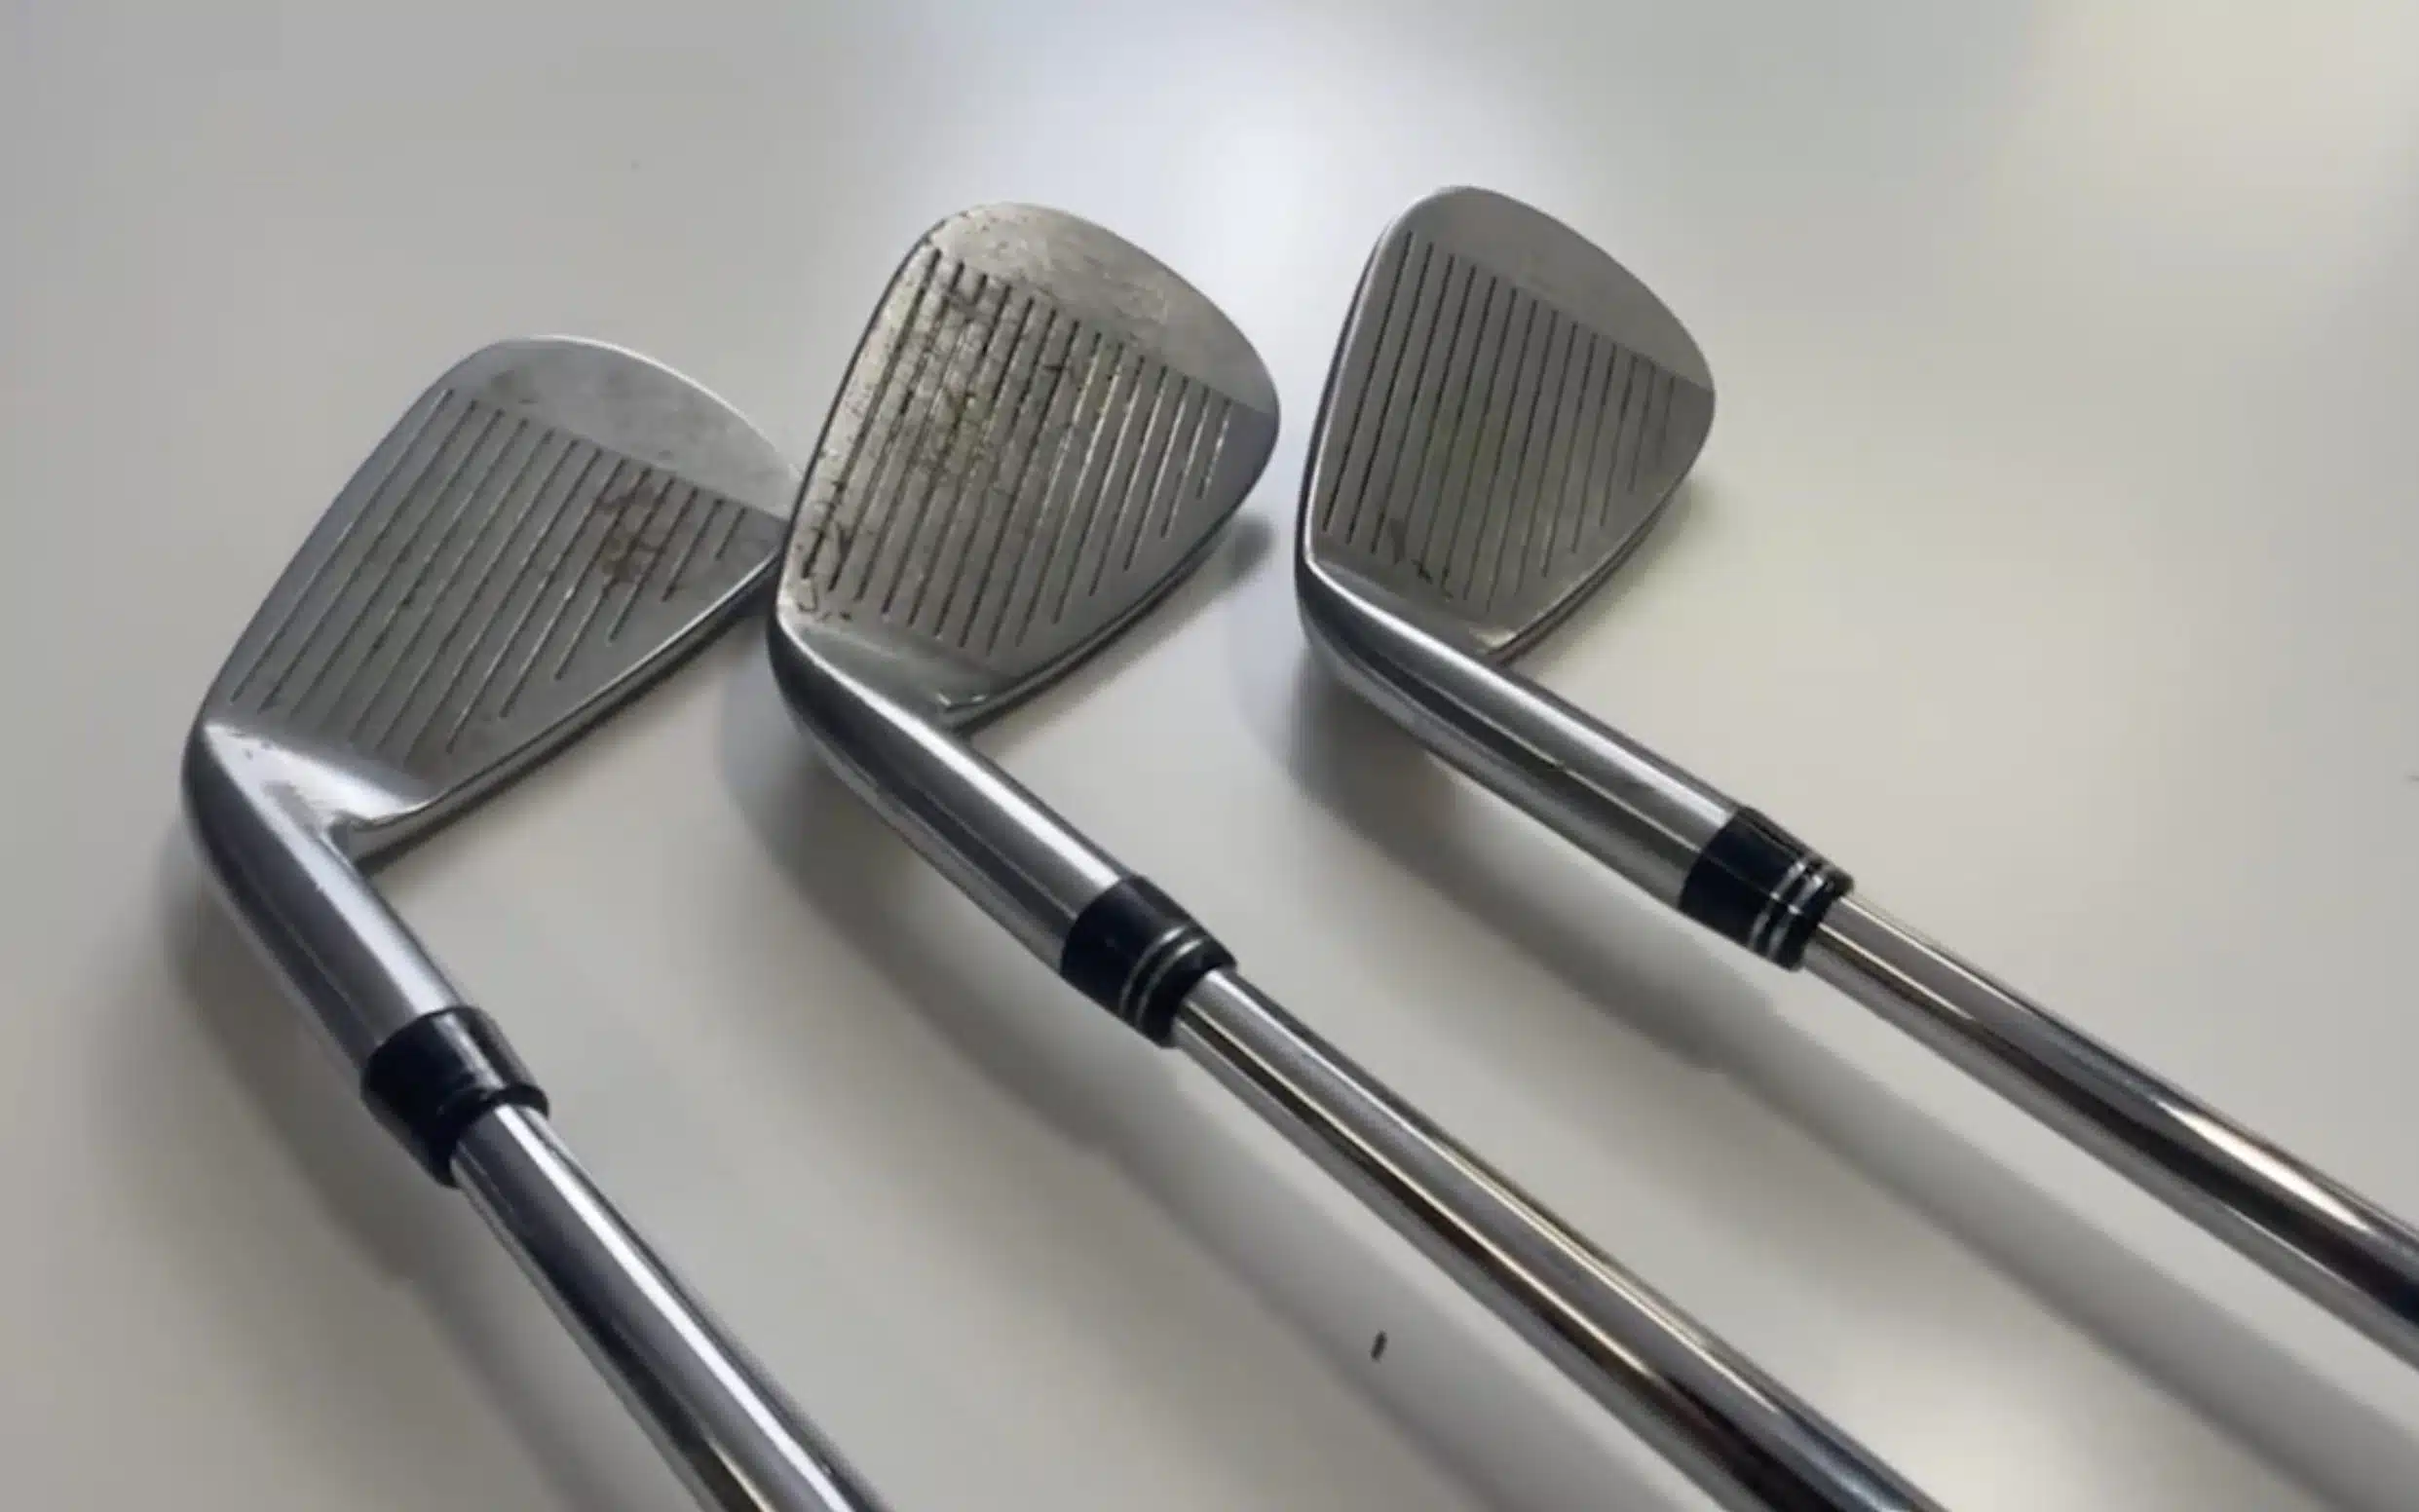
Remember that iron clubs can handle this soaking method perfectly, but you should avoid soaking woods or metal woods as they may have different construction materials that could be damaged by extended water exposure.

Five minutes is your sweet spot for soaking metal clubs—enough time to break down stubborn dirt without risking damage to your club's finish. Fill a bucket with warm water and add a few drops of dish soap like Dawn, which cuts through grease and oils effectively. Only submerge the clubhead below the ferrule to protect your shaft and grip from water damage.
Here's the thing: acidic solutions like vinegar work great for rust removal, but keep those soaks under two minutes to prevent coating damage. Commercial golf cleaning foams can cut your soaking time to just seconds! After soaking, you'll notice dirt practically falling off. Clean grooves are essential because dirty grooves can completely nullify the spin-enhancing effects on your wedges. Proper groove maintenance becomes even more critical when using multi-layer golf balls that rely on precision contact for optimal spin and control performance. For light rust issues, a simple soap and water mixture provides gentle yet effective cleaning power. Just remember—delicate forged irons need gentler treatment, so stick with shorter soaks and mild solutions.
After your clubs have finished their warm, soapy bath, it's time to roll up your sleeves and get scrubbing! Grab an old toothbrush or specialized golf club cleaning brush—these work perfectly for reaching into those essential grooves where dirt loves to hide.
Use gentle pressure as you scrub all angles of the club head, paying special attention to the grooves. The important point is: those grooves control your ball's spin, so keeping them clean directly improves your performance on the course. Clean grooves also help maintain proper shot trajectory by ensuring optimal ball contact during impact.
For stubborn rust spots, try a vinegar and water solution with light scrubbing. Avoid stiff wire brushes that'll scratch your clubs' finish. Once you've thoroughly scrubbed away the grime, rinse everything clean and dry immediately to prevent rust formation. After polishing metal clubs, use a soft cloth to buff the surface for the best finish. Regular club maintenance helps maximize your investment by extending the lifespan of expensive equipment.
While those club heads get all the attention, your shafts and grips need love too—they're literally what connects you to every shot! Start by mixing warm water with 2-3 drops of dish soap, then gently wipe the shaft with a damp cloth. The fact of the matter is: never submerge your clubs in water since this can damage the connection between shaft and head. After cleaning, rinse with a clean damp cloth to remove soap residue, then dry immediately to prevent water spots and rust.
Spotted some rust? Apply white vinegar to a cloth and let it sit on affected areas for 10 minutes to 48 hours, depending on severity. Always use soft materials—harsh scrubbing can scratch the finish and ruin your clubs permanently. Clean clubs not only look better but also help maintain proper grip for better shot control and consistency on the course.

The final step in your club cleaning routine can make or break all that hard work you just put in—proper drying and polishing converts your clubs from clean to tournament-ready! Initially, you'll want to air dry your clubs whenever possible, letting moisture evaporate naturally from every surface. If you're pressed for time, grab a clean microfiber cloth and thoroughly wipe down each club, paying special attention to grooves and underneath club heads where water loves to hide.
Here's the thing about polishing—preparation matters. Apply golf-specific polish using gentle circular motions on metal surfaces only. Skip the grips and non-metal shafts to preserve their texture. Multiple buffing rounds build that mirror-like shine that'll have your playing partners asking questions! Clean clubs also provide better grip conditions, which is essential since proper grip placement affects your wrist movement and overall swing control.
Investing in specialized golf cleaning tools changes your club maintenance from a frustrating chore into an efficient, thorough process that actually protects your investment. Dual-sided brushes work perfectly here—you'll use the softer nylon side for your woods and putters, then flip to the firmer side for irons and grooves. This dual approach means you're not accidentally scratching delicate surfaces while still getting aggressive dirt removal where you need it.
Retractable groove cleaners are revolutionary! They extend for detailed cleaning within those critical grooves, then retract safely for storage. No more accidental snags or injuries. When cleaning grooves, brush across them, not along them—this technique removes debris effectively and maintains proper ball spin control for better performance.
Clean grooves are essential for maintaining consistent ball flight patterns, as dirt and debris can significantly impact how your club face interacts with the ball at impact.
After you've perfected the art of cleaning your clubs with the right tools, proper storage becomes your next line of defense against premature wear and expensive replacements. You'll want to make sure your clubs are completely dry before storing them—any leftover moisture can cause rust within days. Store them upright in a bag with dividers to prevent shaft damage from clanking together. The important point is: your garage or basement isn't ideal because temperature swings can warp shafts and deteriorate grips. Instead, choose a climate-controlled space with low humidity. Don't forget headcovers for your woods and putters! Since modern clubs often feature graphite shafts and advanced materials, proper storage is even more critical to maintain their performance characteristics. Lastly, inspect your clubs regularly for wear, checking grips for slickness and clubheads for damage.
You should clean your golf clubs after every round to maintain peak performance. The reality is—dirt and grass in your grooves seriously affects ball control and backspin! If you're a casual player, cleaning every 3-4 rounds works fine. However, muddy or wet conditions demand immediate cleaning after each use. Quick tip: carry a towel and brush for on-course maintenance between shots.
No, don't use bleach on your golf clubs! The reality is—bleach is way too harsh and will damage your club's finish, causing faster wear and potential rusting. It's like using sandpaper when you need a gentle cloth. Instead, stick with mild dish soap or specialized golf club cleaners that'll get them sparkling without the damage. Your clubs will thank you later!
You won't damage your clubs' finish if you clean them properly after every round. The real culprit is aggressive scrubbing with wire brushes or harsh chemicals—that'll scratch and wear down coatings fast. Stick to soft plastic brushes, mild soap, and microfiber cloths instead. Quick wipe-downs between shots are totally fine! Just avoid daily deep cleaning sessions, which are overkill anyway.
Yes, you should definitely adjust your cleaning approach based on course conditions! Muddy courses require soaking irons in warm, soapy water for 10 minutes, then brushing with nylon bristles. Sandy conditions need frequent dry brushing during play—avoid soaking mid-round. Wet weather calls for immediate drying to prevent rust, while dry courses just need regular wiping to remove dust buildup.
Dirty clubs can crush your performance and add strokes to your scorecard. Clean wedges generate around 10,552 RPM of backspin, while dirty ones drop to just 5,759 RPM—that's a massive 50% reduction! You'll lose about 3 yards of carry distance per shot and struggle with accuracy. Your shots won't stop on greens properly, making it nearly impossible to score well consistently.
You've got this! Clean clubs aren't just about looking good—they'll actually improve your game by giving you better contact and spin. Make this a routine after every round, and your clubs will last years longer. Remember, dirty grooves can cost you 5-10 yards on approach shots! Keep those cleaning supplies in your bag, and you'll never have to deal with caked-on mud again.